
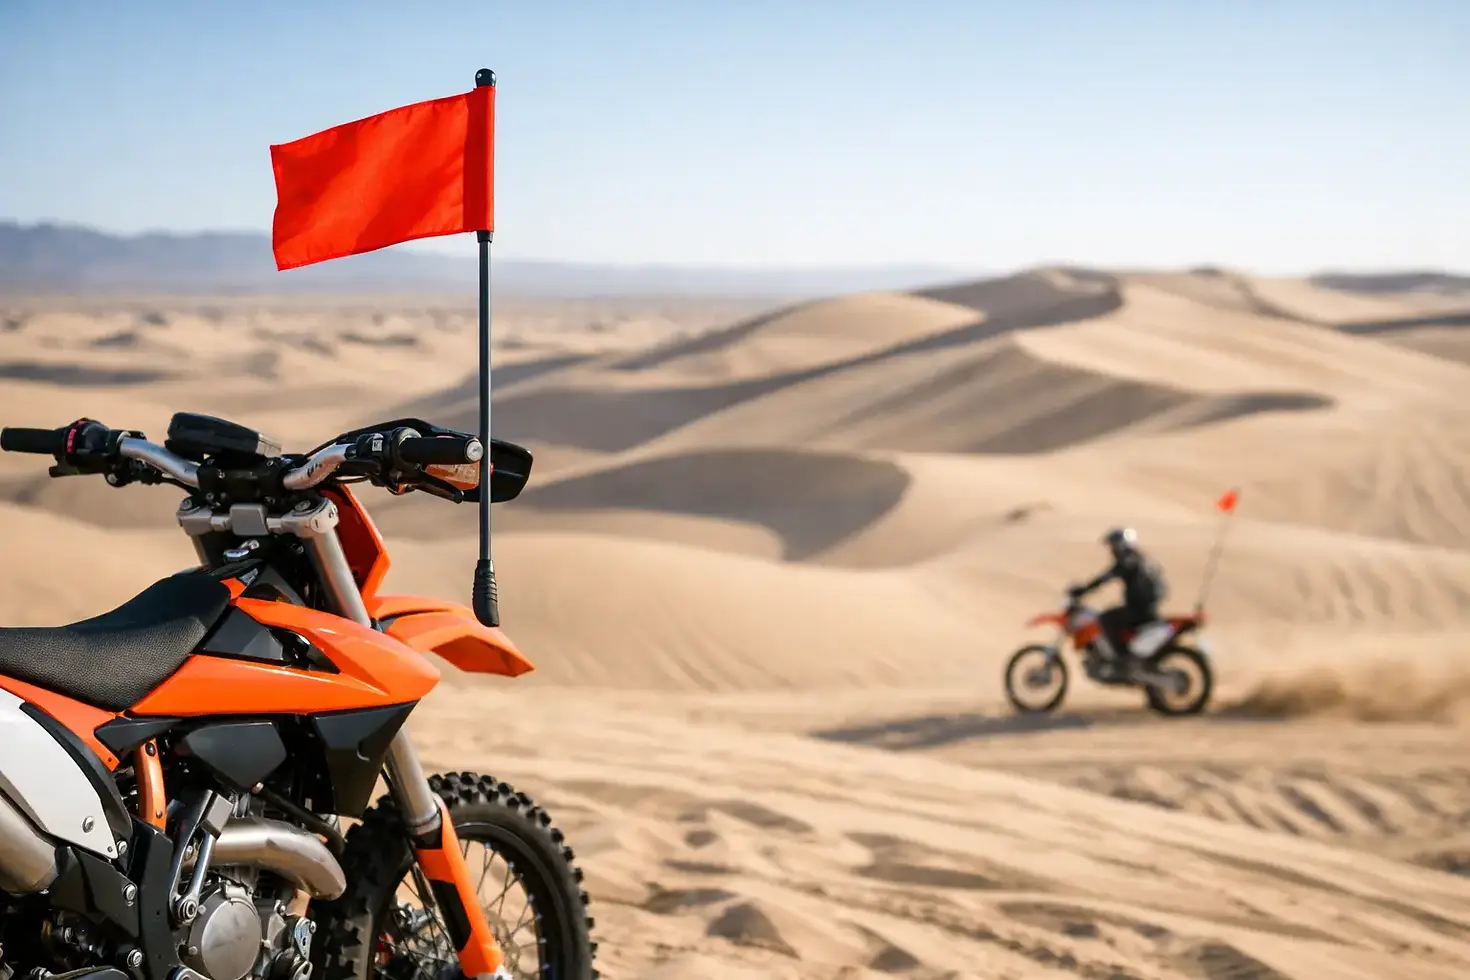
Best Dirt Bike Flag Mounting Location for Dunes
A dune flag is only useful if other riders can actually see it - and if it stays on the bike when the sand gets rough. The right dirt bike flag mounting location keeps the whip high, visible, and out of your way without turning every ride into a fight with broken mounts, loose hardware, or a flag that catches your gear.
For most dune riders, the best spot is not the first flat surface that looks available. Flag placement affects visibility over bowls and razorbacks, suspension movement, exhaust clearance, access to the bike, and how likely the whip is to survive a hard day in the dunes. Get the location right before you worry about the flag itself.
Why dirt bike flag mounting location matters
At the dunes, a safety flag is there to give other riders a chance to spot you before they crest the same hill. That means the flag needs enough height to clear the bike and rider, with a mount solid enough to hold that height through whoops, chop, and the occasional tip-over.
A poorly placed whip can create problems fast. Mount it too low and the flag disappears behind the rider. Put it where it interferes with the rear wheel, chain, exhaust, or fender and you have a failure point waiting to happen. Put it in a spot that blocks access to the seat or makes loading difficult, and it becomes one more piece of gear you hate dealing with.
The goal is simple: position the whip near the rear of the bike, as high and as secure as practical, while keeping it clear of moving parts and your normal riding position. The exact answer depends on the bike, the whip length, local riding-area rules, and how aggressively you ride.
The best dirt bike flag mounting location: rear frame area
For most motocross-style dirt bikes, the rear frame or subframe area is the strongest all-around mounting location. It puts the flag behind the rider, gives the whip a clean path upward, and avoids the front-end clutter of handlebars, number plates, and controls.
A rear-frame mount also keeps the whip away from the front wheel and makes it less likely to affect steering. When positioned correctly, it allows the flag to sit high above your helmet while the bike is moving, which is what matters when another rider is approaching a blind crest.
This location works especially well when the mount attaches to a sturdy, accessible part of the bike rather than relying on thin plastic. The mount should hold the whip upright without crushing the fender, flexing excessively, or requiring you to remove parts every time you head to the dunes.
Keep it behind the rider, not beside the rider
The whip should generally rise from behind the seat area instead of directly beside your leg. A side-mounted flag can snag boots, riding gear, hydration packs, or anything strapped to the bike. It can also take a harder hit if the bike falls over on that side.
Behind-the-rider placement gives you more room to move around the bike during starts, stops, loading, and recovery. It also keeps the flag in a cleaner line of sight for riders coming up behind you or approaching from an angle.
There is one caveat: do not mount so far back that the whip becomes vulnerable to tire contact when the suspension compresses. Before riding, push down on the rear suspension or have someone hold the bike while you check full travel clearance. Sand whoops can use more suspension than a quick garage check suggests.
Use a solid mounting point, not just the fender
Rear fenders look like an easy answer because they are already in the right general area. The problem is that motocross fenders are plastic. They flex, vibrate, and take abuse. A tall whip adds leverage, especially when it gets slapped by wind or dragged through brush during transport.
A fender-only setup may work for a light, temporary flag on mellow terrain, but it is not the best choice for riders who regularly hit dune chop, steep bowls, or high-speed open sand. Over time, the plastic can crack around the hardware, loosen, or allow the whip to lean backward.
A frame-supported solution is a better bet. ZENxTEN's MX/Dune Whip Mount is built around this real-world problem, giving riders a secure, tool-free way to install and remove a dune whip without making the fender carry the load.
Mounting locations that cause trouble
Some flag locations can work in a pinch, but they come with trade-offs worth understanding before you drill holes or clamp something onto your bike.
An axle-mounted whip is common, but it sits low and takes a beating. The flag must be much longer to reach a visible height, which creates more leverage on the mount. It also places the setup close to the spinning wheel, chain area, and sand spray. Axle mounts can be workable on certain bikes, but they are often the first place riders experience bent brackets, broken whips, and mounting hardware that needs constant attention.
Handlebar-mounted flags are usually a poor fit for dirt bikes in the dunes. They clutter the cockpit, can affect your ability to move forward on the bike, and put the whip in your field of view. A flag flapping directly over the bars gets old fast, particularly when you are standing and working through rough terrain.
Mounting to a luggage rack or rear carrier can make sense on trail bikes that already have a strong rack system. It is less common on MX bikes, where the rack adds weight and changes the clean, narrow rear profile. If you do use a rack, confirm that the mount itself does not move independently under vibration.
Set whip height for where you ride
There is no single whip height that fits every riding area. Many dune areas have specific flag requirements, including minimum height and flag color rules. Check the current regulations for the riding area before you load up, because a setup that is accepted at one dune system may not meet the requirements at another.
Even when rules set a minimum, taller is often easier to see in crowded conditions. The trade-off is that a taller whip has more flex and puts more load on the mounting point. A quality whip and a stable rear mount matter more as height increases.
Your flag should clear your helmet by a meaningful margin when you are seated and standing. Do not judge height only while the bike is on a stand. Put on your helmet, sit naturally, stand in attack position, and look at where the flag will ride relative to your body. The flag needs to be visible over you, not merely attached to the bike.
Clearance checks before the first ride
A good install takes a few minutes. A bad install can cost you a whip, a fender, or a riding day. Before heading out, inspect the setup from every side and make sure the flag pole does not contact the tire, exhaust, chain, sprocket, brake components, or bodywork.
Pay close attention to heat. A whip mounted too near the muffler can soften or damage its base, depending on the materials used. Give the flag pole room to flex without rubbing the exhaust canister or rear plastics.
Then check the bike at full suspension compression. If you cannot safely compress it by hand, use a tie-down method or have a knowledgeable friend help inspect the clearance. Also turn the bike around and look at it as another rider would. Is the flag upright? Is it clearly above the bike? Does it lean so far back that it may disappear over a crest?
After the first few miles of a ride, stop and recheck the mount. Sand vibration has a way of exposing weak clamps and loose fasteners quickly. A mount that remains tight after a hard warm-up lap is far more likely to stay put for the rest of the day.
Make removal part of the plan
The best flag mount is not just secure while riding. It should also make sense when you are loading the bike, covering it, parking it in the garage, or switching from dune riding to your local track. If removing the whip requires tools, takes too long, or leaves sharp hardware in the way, riders tend to postpone it - and that is when gear gets bent in the truck or damaged in storage.
A quick-release or tool-free mount earns its place because it lets you run the flag when you need it and remove it when you do not. That is convenience with a real payoff: less temptation to leave a tall whip installed during transport, and fewer excuses to run a questionable setup.
Before the next dune trip, stand behind your bike and look at the flag as if you were another rider approaching a blind hill. If it is high, stable, clear of the bike, and easy to remove after the ride, you have picked the right location.


Comments